Yesterday's News, Tomorrow's Lettuce: The Honiton Newspaper Pot Project

Photo: Internet Archive Book Images, No restrictions, via Wikimedia Commons
There is a particular kind of stack that builds up behind the counter at this time of year: yesterday's papers, last week's papers, the ones that didn't find a reader. They are too good to bin and too out-of-date to sell. If you are a gardener — or a gardener-in-waiting — they are also the start of next spring's seedlings.
This is not a clever hack that requires a special tool. It is a small, thrifty habit: save a few end-of-run newspapers from the Honiton Paper Shop, learn one reliable fold, and turn newsprint into biodegradable pots for your windowsill. The pots cost nothing, they break down in the soil, and they keep a useful thing in circulation for a second go.
Start with a stack, not a shopping list
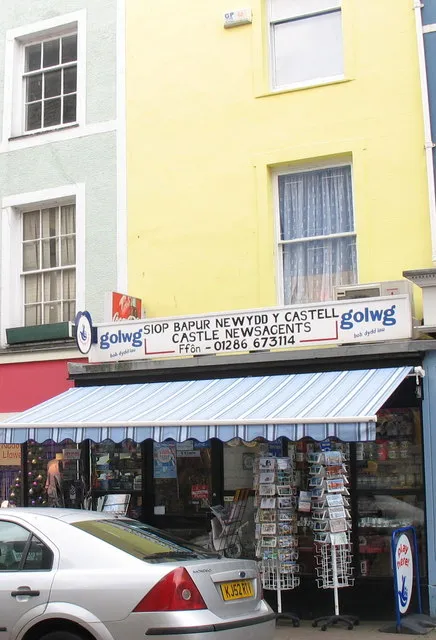
The best time to begin is now, while the paper pile is deep and the garden is quiet. Ask at the counter whether there are end-of-run copies going spare. We keep a stack by the door for exactly this sort of thing — not the glossy supplements, not the inserts, just the plain newsprint pages that are past their selling date.
Take them home and keep them dry. A carrier bag under the stairs is fine. A box by the radiator is not. Damp newspaper that has been sitting in a shed for three months will still fold, but it will smell like a wet cellar and the pots will be weaker. Dry, flat pages are what you want.
There is a community angle here, too. If you only need a dozen pots, you will probably end up with enough paper for fifty. That surplus is worth passing on: to a neighbour with a greenhouse, to a school gardening club, to the allotment crowd. A paper pot morning is a good excuse for a chat.
Which pages earn their place (and which don't)
Not every part of the paper belongs in the compost. The plain black-and-white news pages are ideal. They are thin, flexible, and they break down readily once planted out. The financial pages are also fine, assuming you don't mind yesterday's share prices wrapping a lettuce root.
Avoid the shiny stuff. Glossy supplements, magazine covers, supermarket flyers, and anything with a laminated feel will sit in the soil for far longer than you want. Skip pages with staples, plastic tape, or heavy colour adverts if you can. Modern newspaper inks are generally considered safe for this sort of use, but the simpler the paper, the better the pot.
Also avoid receipts and till slips. They are not newspaper, they often contain thermal coatings, and they do not belong in a seed pot. Keep the project to newsprint and you will be on solid ground.
The fold that holds: a jam-jar pot in four moves
The internet is full of origami seed pots, and some of them are very beautiful. The problem is that a pretty pot that collapses when you water it is not much use. This method is less elegant and more reliable. You need a small jar or glass — a jam jar, a spice jar, a clean yoghurt pot — and a sheet of newspaper.
- Fold a broadsheet page in half lengthways, so you have a long rectangle. Two layers are better than one; a single sheet goes floppy when wet.
- Place the jar near one short edge of the paper, leaving about two inches of paper sticking out below the base. Roll the paper around the jar, keeping it fairly tight. You are making a tube.
- Fold the overhanging paper across the bottom of the jar, like wrapping the end of a present. Press the folds flat with your fingers. This is the bit that stops the compost falling out.
- Slide the jar out. You now have a paper tube with a folded base. Sit it in a tray or a old seed tray, fill it with compost, and firm it gently. Stand the pots close together so they support each other.
A word on dampening: give the empty pot a light mist of water before filling it. Not soaking — just enough to make the paper pliable so it settles into shape. If you soak it, it will slump. If you leave it bone dry, it will crack when you fill it. A little damp is the sweet spot.
A late-winter windowsill timetable
In Honiton, late winter is a patient sort of season. The light is returning, but the ground is cold and the wind still has a bite. A bright windowsill is the place to start.
From late January into February, sow the hardy things: lettuce, spinach, radish, parsley, coriander, and early peas if you have a cool but bright spot. Sweet peas can also be started in paper pots — they resent root disturbance, and the whole pot can go in the ground later. Hold off on tomatoes, courgettes, and anything tender until March or April. They need more light than a January windowsill can honestly provide.
Label each pot with a pencil, not a pen. Pencil survives the damp. Water from below by standing the pots in a shallow tray, and let them drain. Newspaper pots dry out faster than plastic, so check them every day or two. Once the roots show through the paper, plant the whole pot — paper and all — into a larger container or the ground. The pot breaks down as the roots push through.
The community bit: share the surplus
This is the sort of project that gets better when it leaves your kitchen. If you make twenty pots and only need ten, pass the rest on. If you have a neighbour who is new to gardening, a jam jar and a folded newspaper is a low-pressure way to start a conversation. If you have children in the house, the folding is a good rainy-afternoon job — messy, useful, and quiet for about four minutes.
And when spring comes, the paper pot disappears into the soil and the seedling carries on. Yesterday's news becomes tomorrow's lettuce. That is a small, satisfying loop, and it starts with a stack of papers by the door.